Continuous Integration (CI) and Continuous Deployment (CD) are essential practices in modern software development. Azure DevOps provides a powerful set of tools for automating these processes, enabling teams to deliver software faster and with higher quality. In this tutorial, we will walk through setting up a CI/CD pipeline for a web application hosted on Azure App Service.
Prerequisites
- An Azure account.
- An Azure DevOps login.
- A code repository (e.g., GitHub, Azure Repos).
- A web application that you want to deploy.
- After creating your Azure DevOps account, fill this form.
Understand the Basics of CI/CD
Continuous Integration (CI)
Imagine you have a team of chefs working together to create a delicious dish. In the world of software development, CI is like having a team of developers who work on different parts of an application. Each time one of them finishes cooking their part, they immediately put it on the serving table for others to taste.
This is similar to developers frequently integrating their code changes into a shared code repository, like Azure DevOps, where it’s automatically tested.
In Azure, CI involves:
- Developers frequently combining their code changes.
- Automated testing to ensure that the combined code works correctly.
- Immediate feedback on whether the changes are good or need fixing.
Continuous Deployment (CD)
Now, let’s say the chefs not only prepare their part of the dish but also make sure it’s served on the table for customers to enjoy as soon as it’s ready. In the software world, CD is like taking the code that has been tested and approved (thanks to CI) and automatically deploying it to the production environment where users can access it.
In Azure, CD involves:
- Automatically deploying code to production or other environments.
- Ensuring that the deployment process is repeatable and reliable.
- Reducing manual intervention and the risk of human error.
Together, CI/CD in Azure means that developers work together smoothly, contribute their code frequently, and automated systems ensure that the code is thoroughly tested and safely deployed to users.
This leads to faster and more reliable software development and delivery, similar to how a team of chefs can efficiently serve a delicious meal to hungry customers.
Now let’s do a walk through of the actual DevOps process of building the CI/CD pipelines
Step 1: Set Up Azure DevOps
- Go to Azure DevOps and sign in with your Azure account.
- Create a new organization if you don’t have one already. Follow the prompts on screen to make it quicker.
Step 2: Create a New Project
- Inside your organization, click on “New Project” and provide a name and description.
- By default public projects are disabled.
- Click “Create” to create the project.

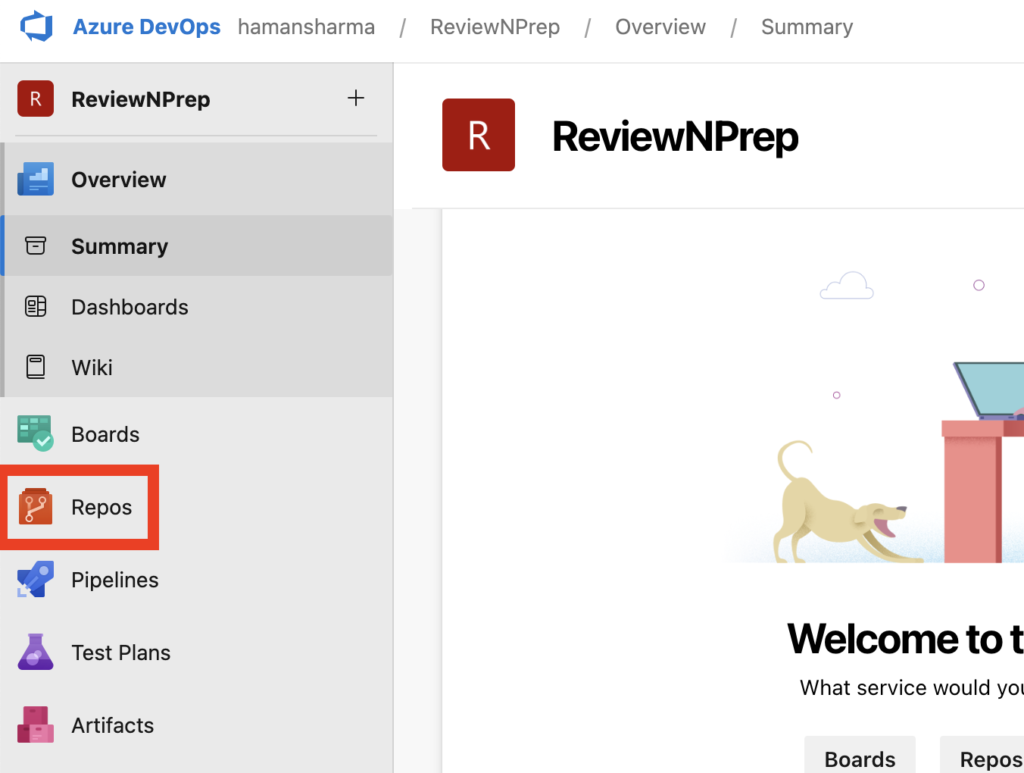
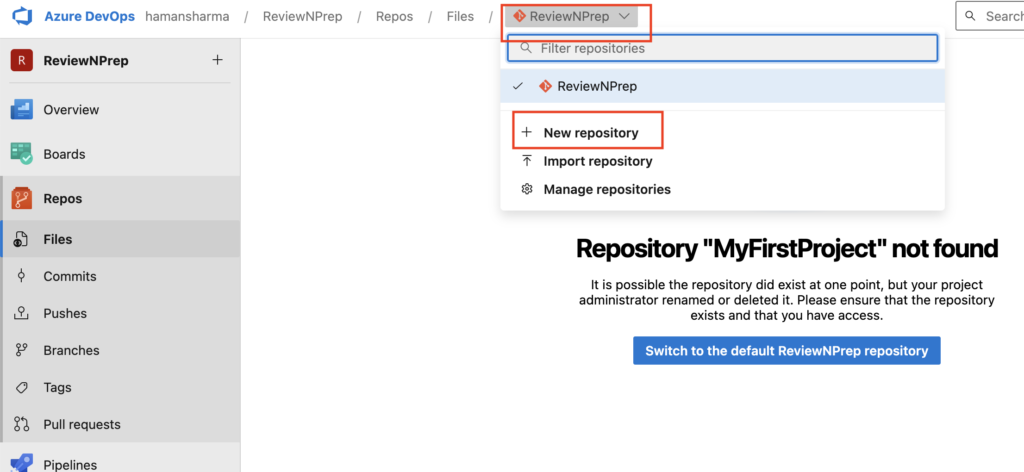
Step 3: Create a New Azure DevOps Repository
- In your project, navigate to “Repos” and click “New Repository.”
- Follow the prompts to create a new repository or connect to an existing one (e.g., GitHub).
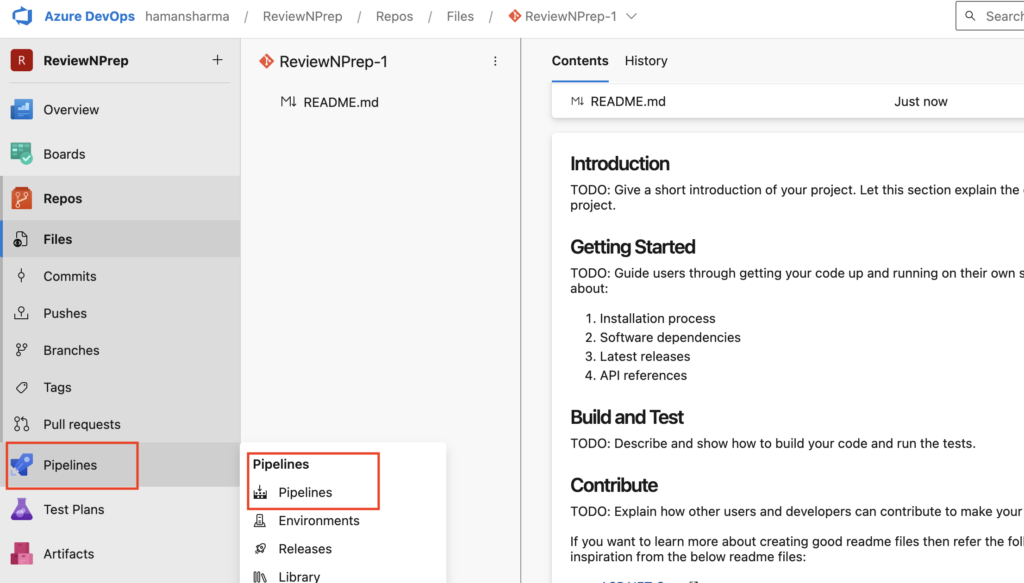
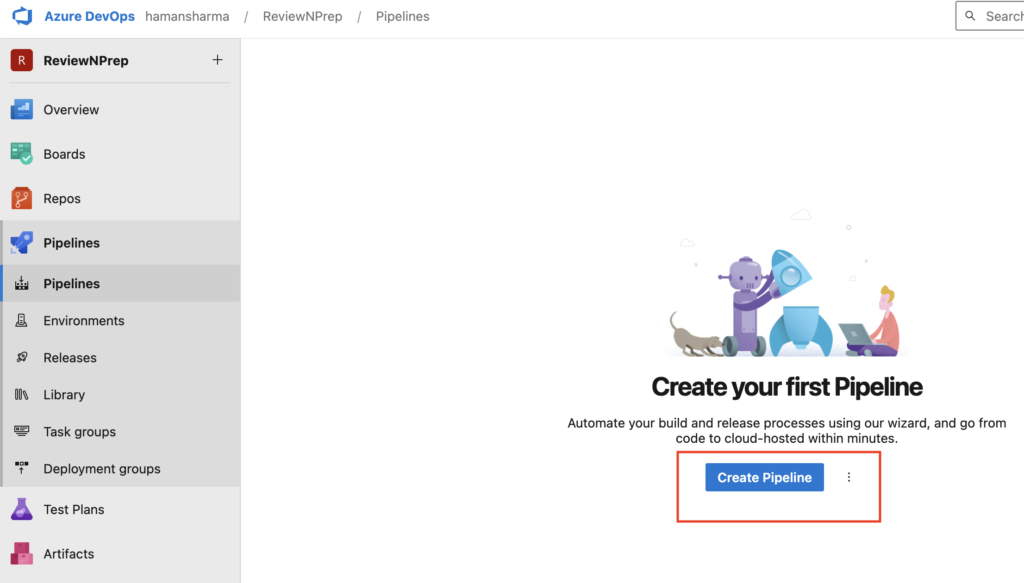
Step 4: Create a Build Pipeline (CI)
1. Navigate to “Pipelines” and click “Create Pipeline.”
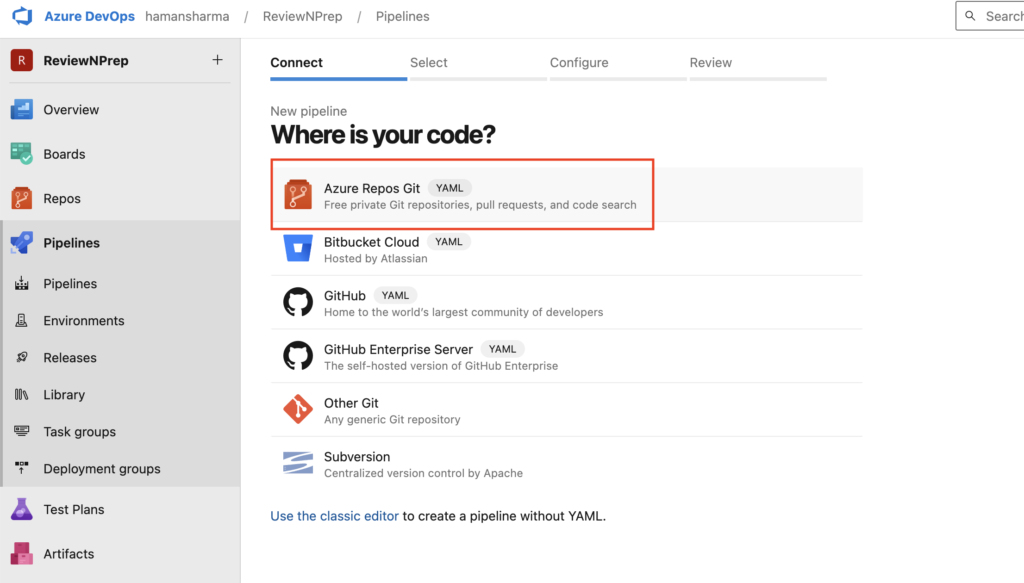
2. Choose your repository source.
- Select the new Git Repository you created in the previous step
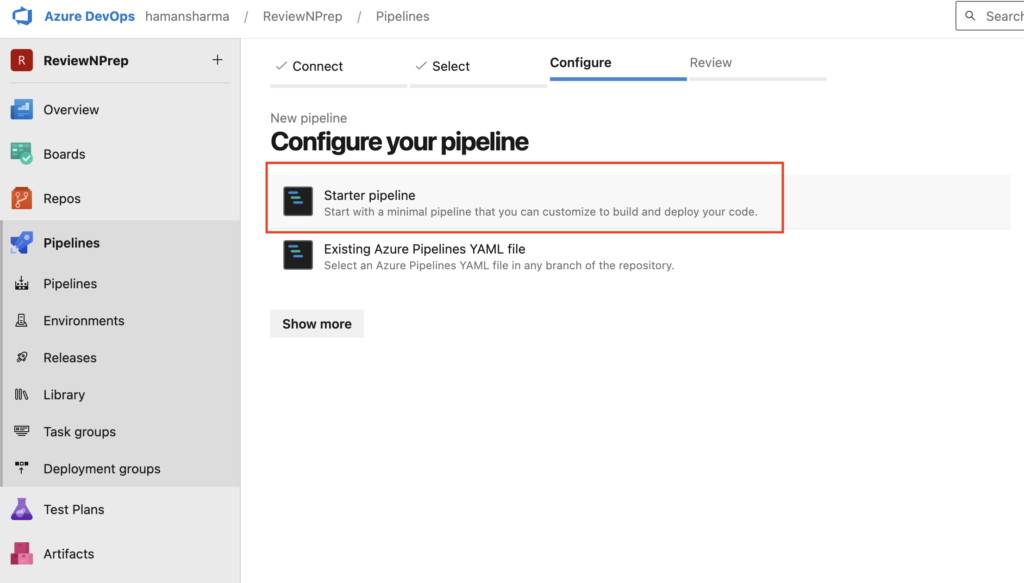
3. Select a starter pipeline template (e.g., ASP.NET Core).
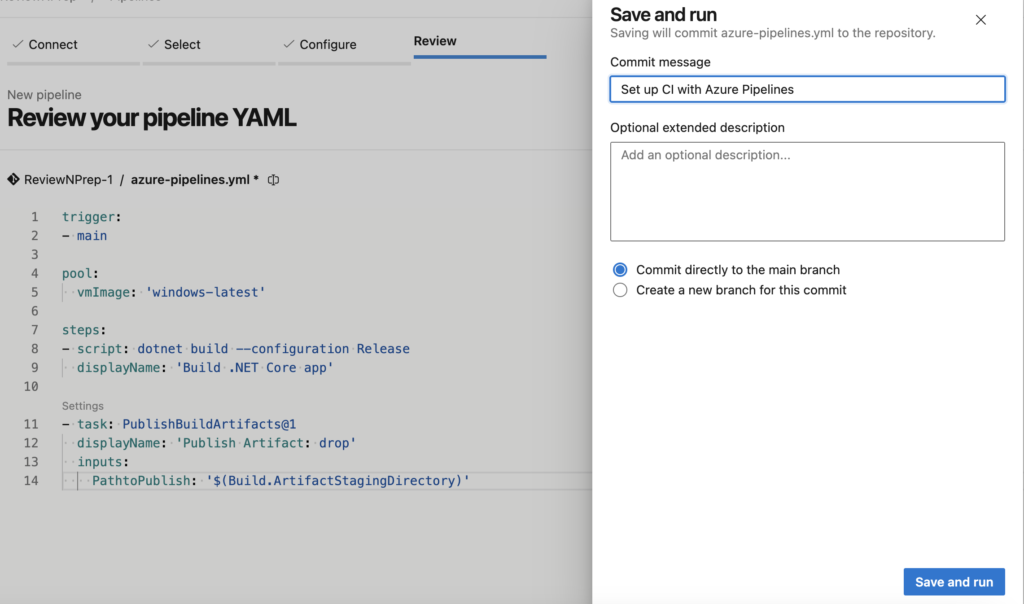
4. Modify the pipeline YAML file as needed to build your application. Here’s an example:
trigger:
- main

pool:
  vmImage: ubuntu-latest

steps:
  - script: echo hello world!
    displayName: 'Hello world step'
5. Save and run the pipeline.
6. You can see the progress and check for errors in the pipeline run.
- If this is the first time running a job, you might encounter an error saying “No hosted parallelism has been purchased or granted. To request a free parallelism grant, please fill out the following form https://aka.ms/azpipelines-parallelism-request“. Fill the form in the error message. At the time of writing this blog, the process to request this is manual.
Step 5: Create a Release Pipeline (CD)
- Navigate to “Pipelines” and click “New Pipeline.”
- Choose “Azure App Service Deployment” as the template.
- Configure your Azure subscription, App Service name, and other settings.
- Add an artifact source by selecting your build pipeline and branch.
- Configure the stages and tasks in your release pipeline. Here’s an example:
- Dev Stage:
- Azure App Service Deploy: Deploy to the development environment.
- Production Stage:
- Azure App Service Deploy: Deploy to the production environment.
- Save and create a release. You can trigger it manually or set up automatic triggers when a new build is available.
Step 6: Testing and Deployment
- Commit code changes to your repository to trigger the CI/CD pipeline.
- Monitor the pipeline runs, and you will see the build and release stages executing.
Conclusion
Congratulations! You’ve successfully set up a CI/CD pipeline using Azure DevOps. Any code changes pushed to your repository will now be automatically built and deployed to your Azure App Service. This ensures a streamlined development process and rapid delivery of your web application.
Please note that this tutorial provides a high-level overview. For more detailed instructions and screenshots, you can refer to the Azure DevOps documentation. Additionally, you can capture screenshots during the setup process for your specific project to include in your blog.